
Scratching your head thinking what direction do you lay decking boards?
There are a few things to look at before the direction can be decided, luckily I’m going to help you figure it all out.

Does It Matter Which Way Deck Boards Run?
Yes it does, there are many factors to consider:
One, the weather,
Two, where the is the deck being placed,
Three, the size of your desired decking,
Fourthly, your own preference (design etc) within reason.
And, finally the cost.
Let’s start with the…
1.Weather
I know what your thinking…What has weather got to do with it?
A huge amount, to be honest.
Think of your future deck as a flat roof on the floor.
Like a flat roof, a deck covers a vast area which means it will collect alot of water when it rains.
Luckily roofs have gutters which collect water and take it away.
Decks (on the other hand) only have the ground around them to collect the water, so if your not careful with the planning of your future deck, you could actually damage your home.
The rain water could collect around the structure of your home and cause rising damp and other host of problems you don’t want.
If your using these decking boards with the grooves (castle tops)…

And your deck is going to be attached to your home, you must ALWAYS direct the water away from your property.
These kind of decking boards are designed to channel the water away from the deck.
So it is common practice that a gradient (slope) should be built into the decks structure to allow water to run off away from your home
The rule of thumb for the slope is a ratio of 1:100, this simply means a 10mm fall for every 1 metre of the deck.
So (for example) your deck is 3 metres long, it will need a fall of 30mm.

If your going to use smooth decking boards like these…

Then a slope is not required to be built into the decks structure.
As long as there is adequate spacing (5-10mm) between the boards, rain will find its way off the boards very easily, usually dripping off the sides.
There is always an argument that no slope is needed if there is ample spacing between the boards, regardless of which board you use.
But from my experience, observations and repairs, using deck boards with grooves that didn’t have a slope, pooling had formed and eventually caused algae to grow.
And at worse, caused them to rot due to the sitting water not having anywhere to go.
Even on composite decks that don’t rot which also have the groove design, I have seen the same pooling and algae form.
It is also true to say the pooling can be caused by other mitigating factors, such as poor installation and warped materials.
But if we have the ability to drive the water away from a property, help the deck naturally drain, and keep maintenance low
Then, in my experience it is definitely worth having that gradient of 10mm per 1 metre, for groove designed boards.
Again, for smooth boards with spacing it doesn’t really apply, the rain will find its way off easily enough.
Also, don’t be concerned about the slope, its so slight you won’t be able to see it.
2.Where Is The Deck Being Placed?
Adjoined To The House

I remember a previous decking job I took on which had an ongoing argument going on between a couple over what direction do you lay decking boards.
They wanted their deck to be built off the house and that the wife wanted the boards to run parallel to their house, also the same direction of their kitchen flooring.
The husband on the other hand wanted them to run perpendicular (away from the house) instead.
Now both arguments make a valid point, but (to the husbands horror) I agreed with his wife.
You see on an aesthetic point of view, I like things to flow, not to be interrupted.
So with the kitchen flooring running horizontal, it would make perfect sense for the decking boards to run the same way.
If the kitchen flooring had ran perpendicular, then I would of agreed with the husbands choice.
But if you like to go against the grain and mate both horizontal and perpendicular directions together, then nobody is stopping you.
In The Garden

Building your deck in the garden , you can literally run the decking boards anyway you want.
I would still suggest adding a slope if your going to use the groove typed boards just to help with natural drainage.
Next To A shed Or Summer House

Treat a summer house or a shed like your home, if your going to use groove boards slope them away from the structure using the 1:100 rule I explained earlier.
If using smooth planed timber, keep it level, adequate spacing between the boards and any direction you please.
3.The Size Of Your Desired Decking
The size of the deck Is another factor that determines what direction do you lay decking boards.
Dependent on the size of your planned decking, it is desirable to have full length deck boards (with no cuts or joins) that run the entire length or width of the deck.
Using full length boards, the stronger the decking will be.
Full continuous lengths will also keep warping and twisting to a minimum.
Running the boards parallel to the length is always desirable, it gives the deck a much bigger look.

If you run the boards parallel to the width, it tends to give the deck a stumpy look, not very desirable.

Again it’s a personal choice, but if your indecisive on which way to run them, If I was to fit your decking I would run them parallel with the longest side.
4.Your Own Preference (design etc).
Hopefully by now you understand that you can literally run decking boards in any direction you want.
Instead of using the horizontal and perpendicular layouts, there other directions you can lay the decking boards.
Diagonal Decking
Laying decking boards in a diagonal direction gives the deck a very noticeable look.

To lay a deck this way, joist have to be set no wider than 300mm apart, so you may need one or two more joists extra.
Once the frame is built, make sure it is completely square by measuring from corner to corner making sure the measurements are exactly the same.
Once you know the deck is square, firstly lay the longest board in the centre from corner to corner.

Keeping to one side, continue you to cut and lay each decking board working from the centre out.
Then repeat the same for the other half.
Once all the boards are laid, run a circular saw flush across the edge to remove all the over hanging boards to give a nice straight continuous cut to finish off.
Herringbone Decking
Herringbone design gives the deck a zip like look, which in my opinion looks fantastic!

Laying a herringbone pattern will need to have two joist running side by side where the ends of the deck boards meet, for support and fixing.

Brick Effect
The staggered effect decking design is very simple to build, just make sure both boards meet up on top of a joist.

Also when butting two boards together make sure you leave a 3mm gap between them.
Failure to leave a 3mm gap could damage the decking when it swells in wet weather , which may cause buckling and broken fasteners, and worse the boards may pop out.
Lay the joist as you would for a standard deck.
Picture Framing Deck
Picture framing a deck is the ultimate professional look!
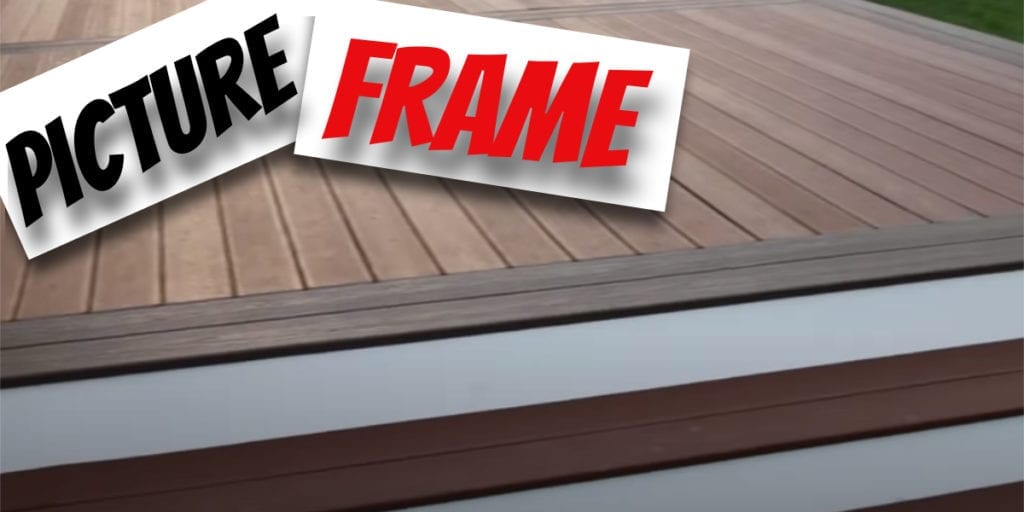
The level of difficulty building this type of deck can be very difficult if you have a basic level of deck building.

There are numerous amounts of joists and cross sections involved which make the actual frame work look very confusing.
Along with all the accurate cuts that need to be done I would personally suggest if your not confident with measurements etc, leave it to someone who knows what they are doing.
Plus, the material cost for a picture framing deck is expensive.
5. The Cost.
Be aware that if you decide to go with a design other than a standard layout you will need to re-plan your decking structure.
That means adding more joists and maybe another bearer or two.
Adding to the cost of your build, but hey, in my opinion spending that little bit more and falling in love with you deck, then it’s worth it.
Same goes if your overhauling a previously built deck.
Don’t be bound to the way the boards were before, spend a little bit more and lay the deck boards the way you want too!
Did This Post Help?
Hopefully I’ve helped you decide what direction do you lay decking boards?
My customers always tell me off for giving them even more ideas, but knowing what you can and can’t do can lead to some amazing results!
Let me know in the comments section below what designs you like or are going to build.
And if you need any help or advice, let me know below.
Each and every week I put my heart and soul into providing you with great content to help with any DIY jobs around the home.
If you think this post could help someone you know, please share.

Other Helpful Maintenance Articles
How Do I Keep Wasps From Building Nests Under My Deck? – How do I keep wasps from building nests under my deck? Find out everything you need to know to defend your deck from those yellow jacket thugs!
How To Maintain Your House – The Spring Home Maintenance Checklist – With spring around the corner it makes perfect sense to check what maintenance your house may need for the season and the coming months ahead
Bahco Hand Saw Review – Bahco 244p XT Hard-Point saw 22″ – Find out if the Bahco 244p XT hard-point saw is a worthy addition to your tool box.
Nice article! Well put, humerous and helpful information.
Thank you Sharon 😉
Makes sense now. Cheers for taking the time to write this.
Glad I could help Ronnie 😉